Organizing Processes
In this section, we will quickly show how you can organize your processes into folders to maintain a structured and efficient workspace in the PROCEED editor.
Using the three-dotted button next to Create Process, or by right-clicking on empty space, you can create new folders to organize your processes.
We recommend structuring your folders by department, function, or process type, depending on what best suits your team’s workflow. For example, you might create folders like HR, Finance, or Operations to keep related processes grouped together. You can also nest folders to reflect your organizational hierarchy — for instance, placing an Onboarding folder inside the HR folder.
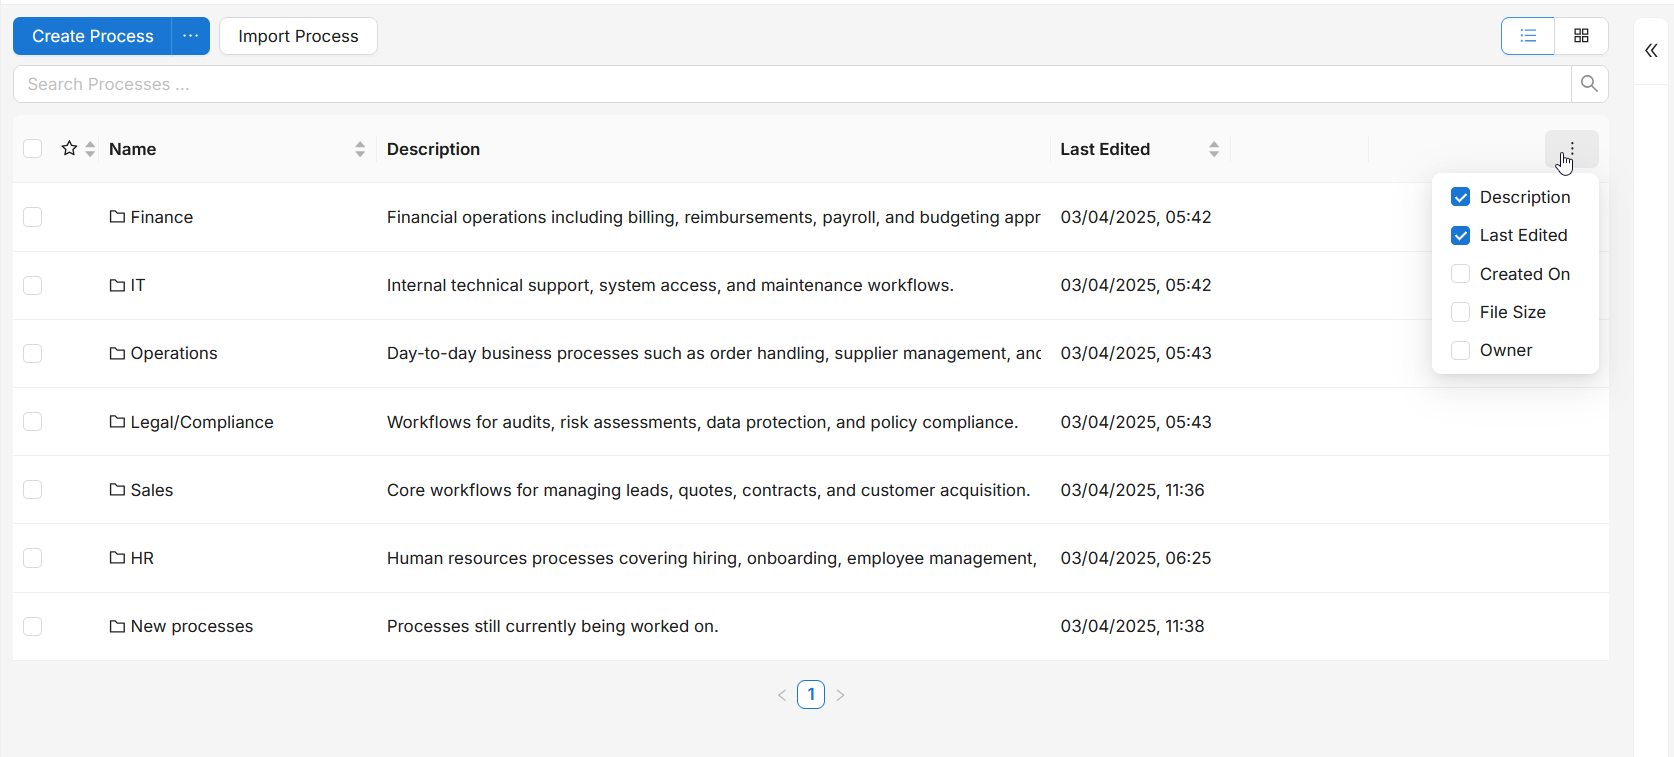
To customize your view, use the three-dotted button in the top-right corner of the table to display additional properties.
You can sort columns by clicking on their headers, making it easier to locate specific items.
In the top-right corner, an arrow button allows you to toggle detailed meta-data for the currently selected item.
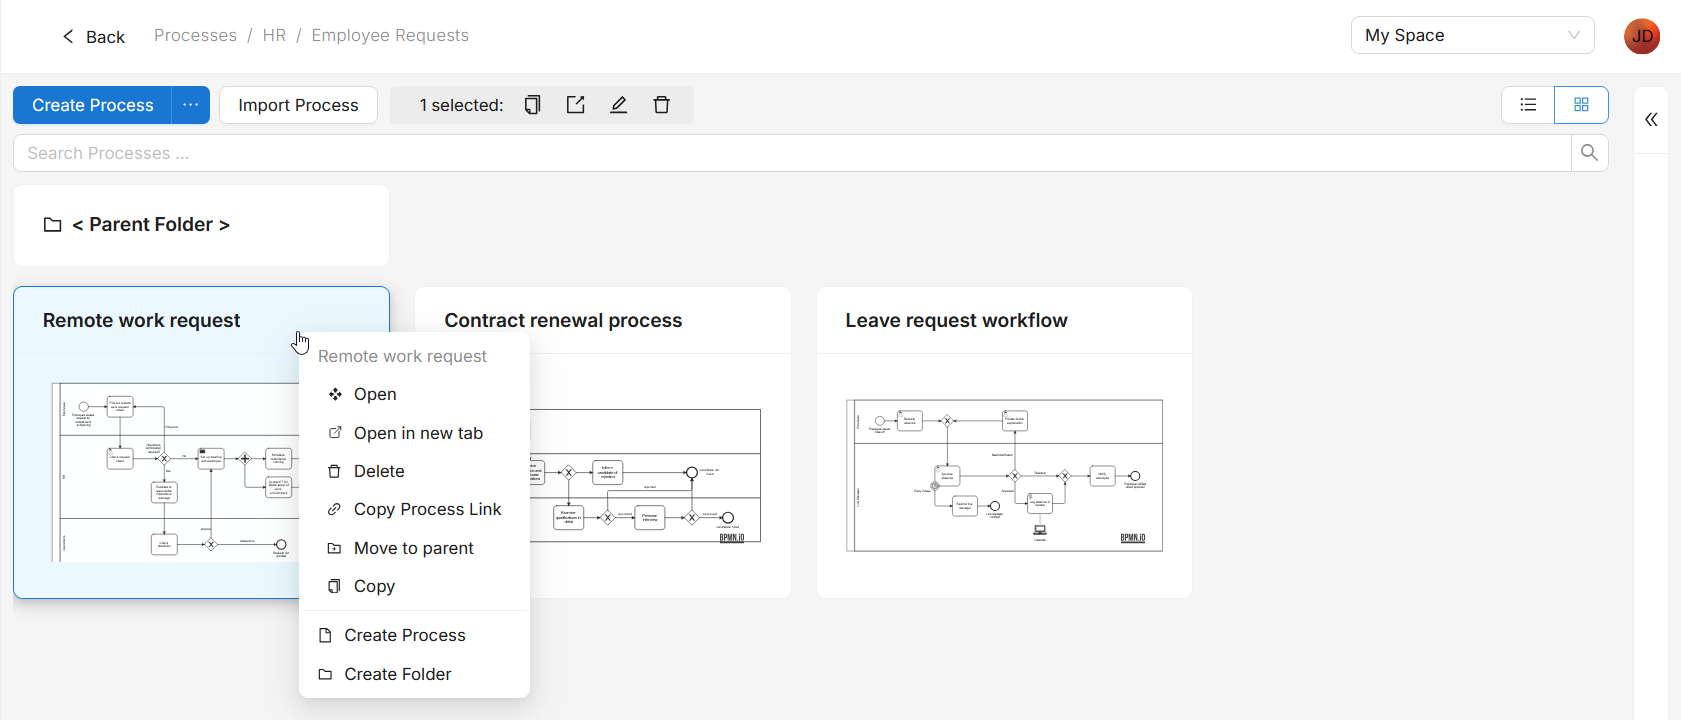
You can switch to a tile view using the button in the top-right corner of the workspace. This layout will also display preview images of your processes
to make it easier to quickly recognize processes visually. To open a folder you now have to double-click it.

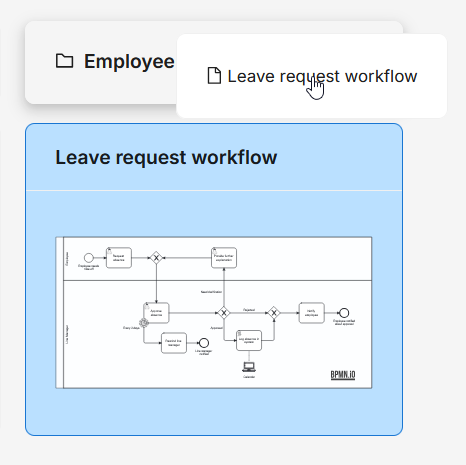
You can also drag and drop processes to move them between folders — this works seamlessly in both list and tile view. To move a process up one level,
you can drag it onto the Parent Folder entry at the top of the list.
By right-clicking a process, you gain access to additional actions such as opening the process in a new tab, copying a direct link to share with others,
or creating a duplicate.
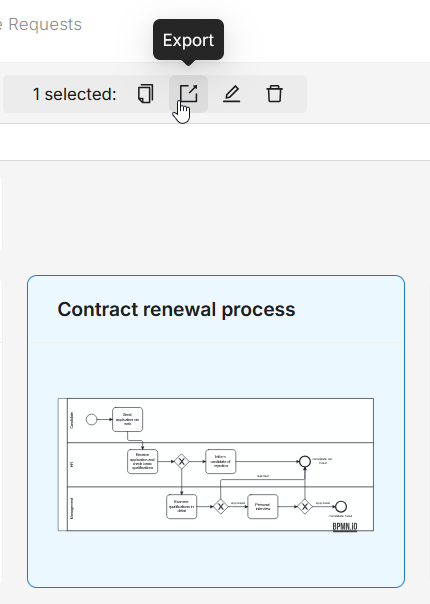
You also have the option to export one or multiple processes directly from this view using the action bar at the top. This allows you to quickly back up,
share, or transfer processes as needed.